In this post on AeroPress Brew Optimization, we cover a methodology to use whenever you purchase a coffee. It is great to play with the coffee to see how different temperatures, doses and yields affect the coffee.
Methodology
The methodology of identifying the brew parameters that bring out the best of a coffee is to only change one thing at a time.
When it comes to AeroPress what are the variables we can change?
All coffee brews have at least three variables:
- Dose: Quantity of coffee to be used.
- Yield: Volume of coffee to be in the vessel at the end.
- Time: The amount of time the brew takes. This is determined by two factors:
- The grind size used;
- how the person brewing the coffee approaches the brew.
Two other variables need to be considered. While these can be linked to time, they are separate considerations:
- Temperature: The temperature of the water used to brew the coffee.
- Pressure: The Pressure used to extract the coffee.
In this discussion, we will look at temperature, but we are trying to use gentle pressure on the AeroPress – aiming for time to ease the water through to be between 30 and 40 seconds.
So where to start?
Fix the Dose first.
For AeroPress, we are going to start with Dose. So, we fix the other variables as best we can and we play with Dose.
One thing worth noting here is that when changing the Dose, you will also need to change the yield since yield is the volume of coffee out, and that will be determined by the amount of water in minus the amount of water the grinds absorb. Typically grinds absorb about twice their weight in water (this changes per coffee, grind and roast). However, if you use the 2 x Dose as a guide you can calculate the amount of water needed for the desired yield. We will cover this in the example.
Then Yield
Once you are happy with the dose, you can change the yield. As a guide remember that Coffee extracts first acidity, then sweetness then body. So if you find the coffee too acidic then increase the yield, if you find it a little bitter decrease the yield. Once it appears to have acidity, sweetness and body (or mouthfeel) in balance then the yield is fine.
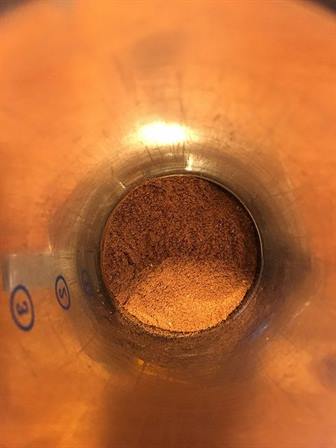
Then Grind
This may be very debatable as the last item to check. If you are not happy doing this now do this first. In the example, we are starting at an estimated grind for the coffee and brew type (in this example AeroPress). We used the manufacturer’s guidelines and set the grinder there for the first and second rounds of testing. Then once happy with the dose and yield we adjusted the grinder.
Then Temp
After fixing all these, we then changed the temp of the water. Trying at least two brewing temperatures against one another.
Then…
What else do you want to check?
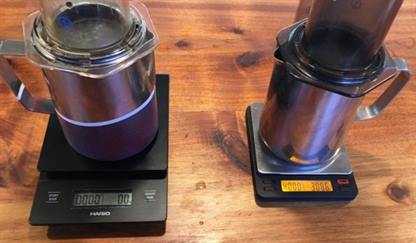
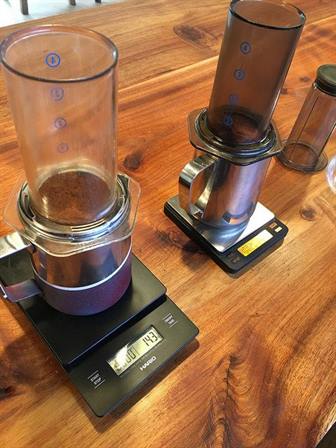
Two Brews at a time.
You need to do at least two brews at a time. Three makes this quicker but two is a must. If you are unable to do this then you make need a vacuum flask or something similar.
Example
Using a simple table log the process used. Weigh the brew vessel before so you can calculate the yield. If you do not do this then you can use Yield – (Dose x 2) – as this is a good estimate.
Change Dose
| Brew # | 1 | 2 |
| Dose | 16g | 15g |
| Grinder Setting | 14E | 14E |
| Temperature at pour | 88°C | 88°C |
| First Pour (time/g) | 30sec/202g | 31sec/201g |
| Number of stirs | 10 | 10 |
| Total Water in | 202g | 201g |
| Total immersion time | 1:30 | 1:30 |
| Total plunge time | 31sec | 30sec |
| Yield (Weight of vessel now – Weight of vessel empty) | 170 | 171 |
| Which do you prefer | X |
You can repeat this until you find the sweet spot. So you could go 15g vs 14g then 14g vs 13g. Let us assume that you do 14 and 15 g, and you prefer 15g. So we choose 15g.
Change Yield
Now we have the dose we like for this coffee we can play with Yield
| Brew # | 1 | 2 |
| Dose | 15g | 15g |
| Grinder Setting | 14E | 14E |
| Temperature at pour | 88°C | 88°C |
| First Pour (time/g) | 30sec/200g | 33sec/220g |
| Number of stirs | 10 | 10 |
| Total Water in | 200g | 220g |
| Total immersion time | 1:30 | 1:30 |
| Total plunge time | 30sec | 32sec |
| Yield (Weight of vessel now – Weight of vessel empty) | 170 | 190 |
| Which do you prefer | X |
You can repeat this and choose 200g in and 190g in and see if that affects the taste. We will assume that you preferred the 200g.
Change Time
Now you change the immersion time, or you could change the pour time etc.
| Brew # | 1 | 2 |
| Dose | 15g | 15g |
| Grinder Setting | 14E | 14E |
| Temperature at pour | 88°C | 88°C |
| First Pour (time/g) | 30sec/200g | 30sec/200g |
| Number of stirs | 10 | 10 |
| Total Water in | 200g | 200g |
| Total immersion time | 1:30 | 2:00 |
| Total plunge time | 30sec | 31sec |
| Yield (Weight of vessel now – Weight of vessel empty) | 170 | 171 |
| Which do you prefer | X |
Once again you can repeat this and find a Immersion time you like. We will go with 2 mins in this case.
Change Grinder fineness
Now you change the fineness of the grind.
| Brew # | 1 | 2 |
| Dose | 15g | 15g |
| Grinder Setting | 13A | 14E |
| Temperature at pour | 88°C | 88°C |
| First Pour (time/g) | 30sec/200g | 30sec/200g |
| Number of stirs | 10 | 10 |
| Total Water in | 200g | 200g |
| Total immersion time | 2:00 | 2:00 |
| Total plunge time | 31sec | 30sec |
| Yield (Weight of vessel now – Weight of vessel empty) | 170 | 170 |
| Which do you prefer | X |
As with all the previous examples, you can do more tests, but for this example, we will stick with 13A.
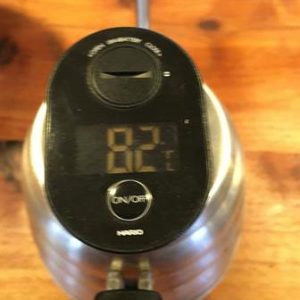
Change Temp
Now you change the temp of the pour.
| Brew # | 1 | 2 |
| Dose | 15g | 15g |
| Grinder Setting | 13A | 13A |
| Temperature at pour | 88°C | 82°C |
| First Pour (time/g) | 30sec/200g | 30sec/200g |
| Number of stirs | 10 | 10 |
| Total Water in | 200g | 200g |
| Total immersion time | 2:00 | 2:00 |
| Total plunge time | 30sec | 31sec |
| Yield (Weight of vessel now – Weight of vessel empty) | 170 | 170 |
| Which do you prefer | X |
As before you can change the temperature of the water when pouring, We have found that most coffees have a sweet spot between 80 and 90C with AeroPress.
Change Preinfusion / Pour Methodology
We also did a test where we tested pre-infusion using the inverted brew, versus the classic brew. We used all the same settings, except for the first pour
| Brew # | Classic | Inverted |
| Dose | 15g | 15g |
| Grinder Setting | 13A | 13A |
| Temperature at pour | 82°C | 82°C |
| First Pour (time/g) | 30sec/200g | 30sec/45g |
| Bloom time | n/a | 30 seconds |
| Number of stirs | 10 | 10 (after second pour) |
| Total Water in | 200g | 200g |
| Total immersion time | 2:00 | 2:00 |
| Total plunge time | 30sec | 30sec |
| Yield (Weight of vessel now – Weight of vessel empty) | 170 | 170 |
| Which do you prefer | X |
We found the inverted brew with bloom had more body but less complexity, so we chose the Classic.
Update – Change Water
After posting this we originally stated we had not altered the water. Since then we have tested the 15g/82C classic brew we liked with Cape Town municipal water, and made water using Third Wave Water.
To make the Third wave water we used 5 litres of RO (Reverse Osmosis) water with a sachet of their filter water mix. They recommend 4ltrs we used 5 litres, since we found the 4 ltrs mix was a little too juicy.
Of the two AeroPresses we brewed the Cape Town water one was a little dull, and the one with the third-wave water more juicy and more enjoyable. So water also has a dramatic effect.
In Closing
What we tried to illustrate here is a process that can be used to assess different brew parameters for an AeroPress (and most of this applies to almost all brew types, with some minor changes).
The differences sometimes are subtle, and perhaps you could say to make it truly scientific each process should be repeated 3-5 times – since small things like pouring a gram more water or grinding .1g coffee can have subtle effects too. However, this is a basic guide rather than a PhD dissertation.
Also, the idea is to have fun doing it and invite some friends to join you. And you can also do it over several days, we did.
Notes: We used Colombian Los Naranjos in the above test.
What we left out
We used standard AeroPress filters, which can also be changed. We used particle-filtered Cape Town Water. Changing the water can have a dramatic effect</strike< (see update above).
We also did not list the grinder we use: it is a Sette 270.
Did we leave other stuff out that we should have checked, quite sure we did?
Update
After publishing this the next day I received a very interesting article by Scott Roa – if this stuff interests you read more here: www.scottrao.com/immersion-vs-percolation. If you are not sure what type of brew AeroPress is – it is an immersion brew.